|
Getting your Trinity Audio player ready...
|
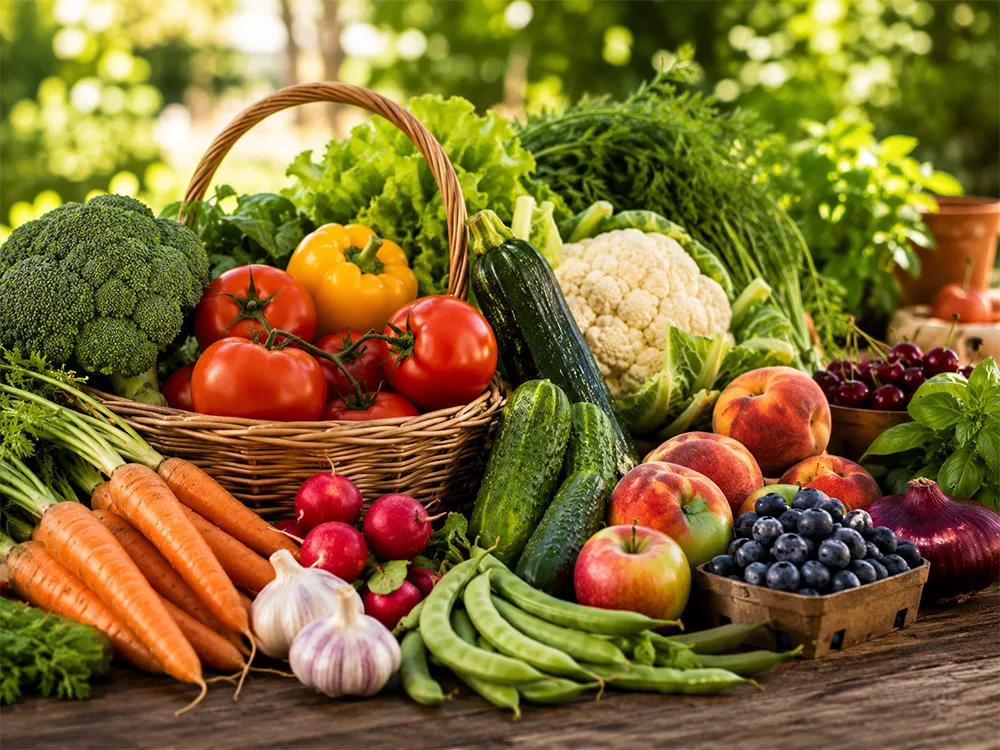
The pleasures of the New England harvest season are truly bountiful. Ripe, red tomatoes, tall rows of corn stalks, and pots of leafy herbs promise home-grown goodness for the family table. Whether grown in your own backyard or purchased fresh from local gardens or farmers’ markets, preserving the “just picked” flavor of the New England harvest is a seasonal challenge.
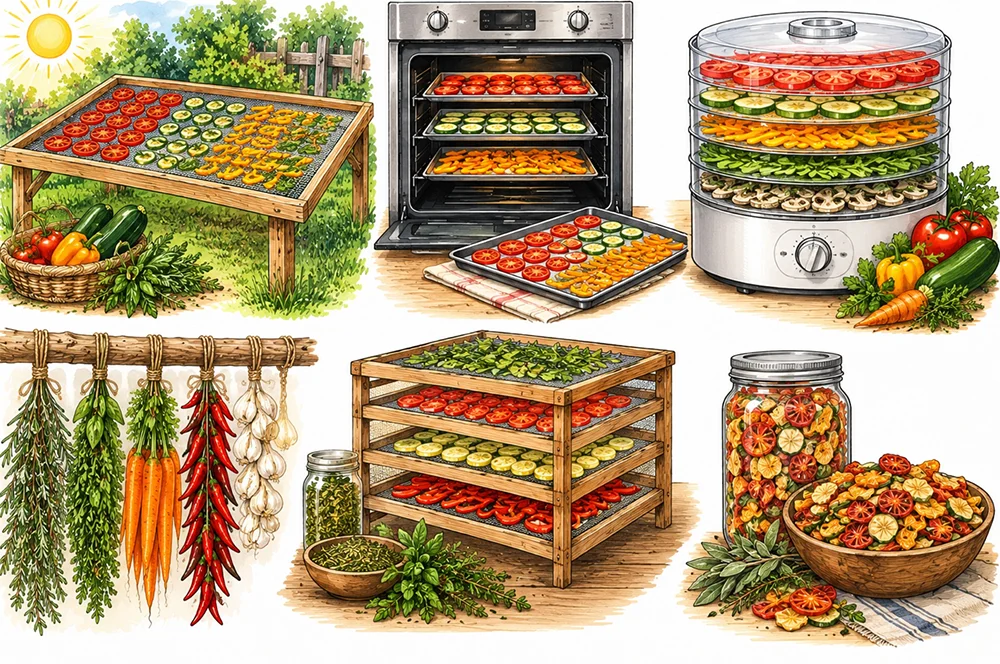
While freezing has long been a favorite form of “keeping” crops and traditional canning has enjoyed a decades-long comeback, the old-fashioned method of drying garden vegetables often gets overlooked by home gardeners. No dehydrator? No problem! All it takes is an oven, some trays, and a bit of time to maintain all the flavor, integrity, and wholesomeness of the season’s harvest.
Dry to Preserve
Drying is one of the oldest forms of food preservation, and a reliable technique that can be easily employed to stretch the goodness of homegrown vegetables. Dehydrating removes moisture and therefore halts the growth of bacteria and molds, extending the life of precious garden crops.
Proper preparation of vegetables to dry is very important. Pick produce at peak of ripeness and rinse in cool water to remove dirt and debris. Dry thoroughly and cut into uniform thicknesses to ensure even drying time. Some vegetables, such as tomatoes, corn, carrots, and potatoes, should be blanched before drying to kill potential bacteria and enzymes that can decrease flavor and color during storage. Common foods that do not require pre-blanching include mushrooms, peppers, onions, garlic, and herbs. Blanch vegetables by boiling or steaming. Immediately drop into cold water briefly to stop cooking, then drain and dry vegetables while still warm. (The warmth will aid the drying process.)
Place vegetables in a food dehydrator, or if drying in oven, arrange in a single layer on a wire cake cooling rack set on top of a sheet tray to allow air circulation. The optimum temperature for successful drying is 140 degrees. This low temperature ensures moisture has completely evaporated, therefore lowering the risk of mold from any trapped moisture. If your oven doesn’t have as low a setting, try the “warm” setting, checking the temperature with a thermometer to avoid cooking the vegetables. Check the temperature periodically to ensure oven maintains an even 140 degrees.
It can take several hours for garden produce to be properly dried. Sufficiently dehydrated vegetables and herbs will be crisp and brittle. Vegetables cut in thicker slices such as tomatoes should be dry but not hard (a bit pliable). Dried goods must be cooled completely before storing. Air tight containers such as zipper lock bags, glass mason jars and plastic freezer tubs are all good candidates for storage of dehydrated vegetables.
Dried produce should be stored in a cool, dark place and can last from a few months up to a year, depending upon the vegetable. Refrigeration can extend the life of some dried vegetables, just be sure they are stored in an air tight container and always use within one year of packing. To ensure the product remains dehydrated, it is very important to check the contents periodically and discard any food that has become rehydrated, smells “off”, or is moldy or tainted in any way.
Read on for some expert tips on dehydrating foods from dryingallfoods.com:
- The most important factor to consider when preparing your food for drying is even thickness. When your slices are evenly thick, they will dry at a uniform rate. As a result, you get equally dried foods after the dehydration process. Uneven thickness, on the other hand, may lead to spoiling during storage.
- To help you achieve even thickness, it’s important to use appropriate tools. For instance, you can use a slicing device to make sure your cuts are equal in inches. A cast iron slicing device is one of the most common tools in the kitchen that has been used for two decades already and is still essential in households.
- Depending on the product, peeling is sometimes unnecessary when dehydrating food. The only reason for this is that removing the skin from your fruit helps avoid imperfections that may cause uneven cooking and poor taste. Also, if you think there are pesticides used, peeling can help eliminate the toxins.
- An oven may take at least 2 times longer than an electric dehydrator. So if you don’t mind drying in a slower method, then this is a good option for you to dehydrate your foods.
- If using an oven, make sure the dial shows 140 degrees Fahrenheit or lower. You can also set the oven to “Keep Warm” to dry your food instead of cooking it. Check the thermostat before putting your fruits or vegetables inside the oven.
- Oven thermometers that are located beside the food often provide a more accurate reading.
- To help improve air circulation, you can leave the door open for at least 2 inches and place an electric fan near the oven to direct the heat outside.
- Ovens without adequate ventilation may need you to crack the door open a bit to avoid moisture buildup. Adjust or turn the pans after a few hours if there are hot spots in your oven to make sure the drying rate is the same. If you notice your food has shrunk and is completely dry, it’s all good for cooling.